
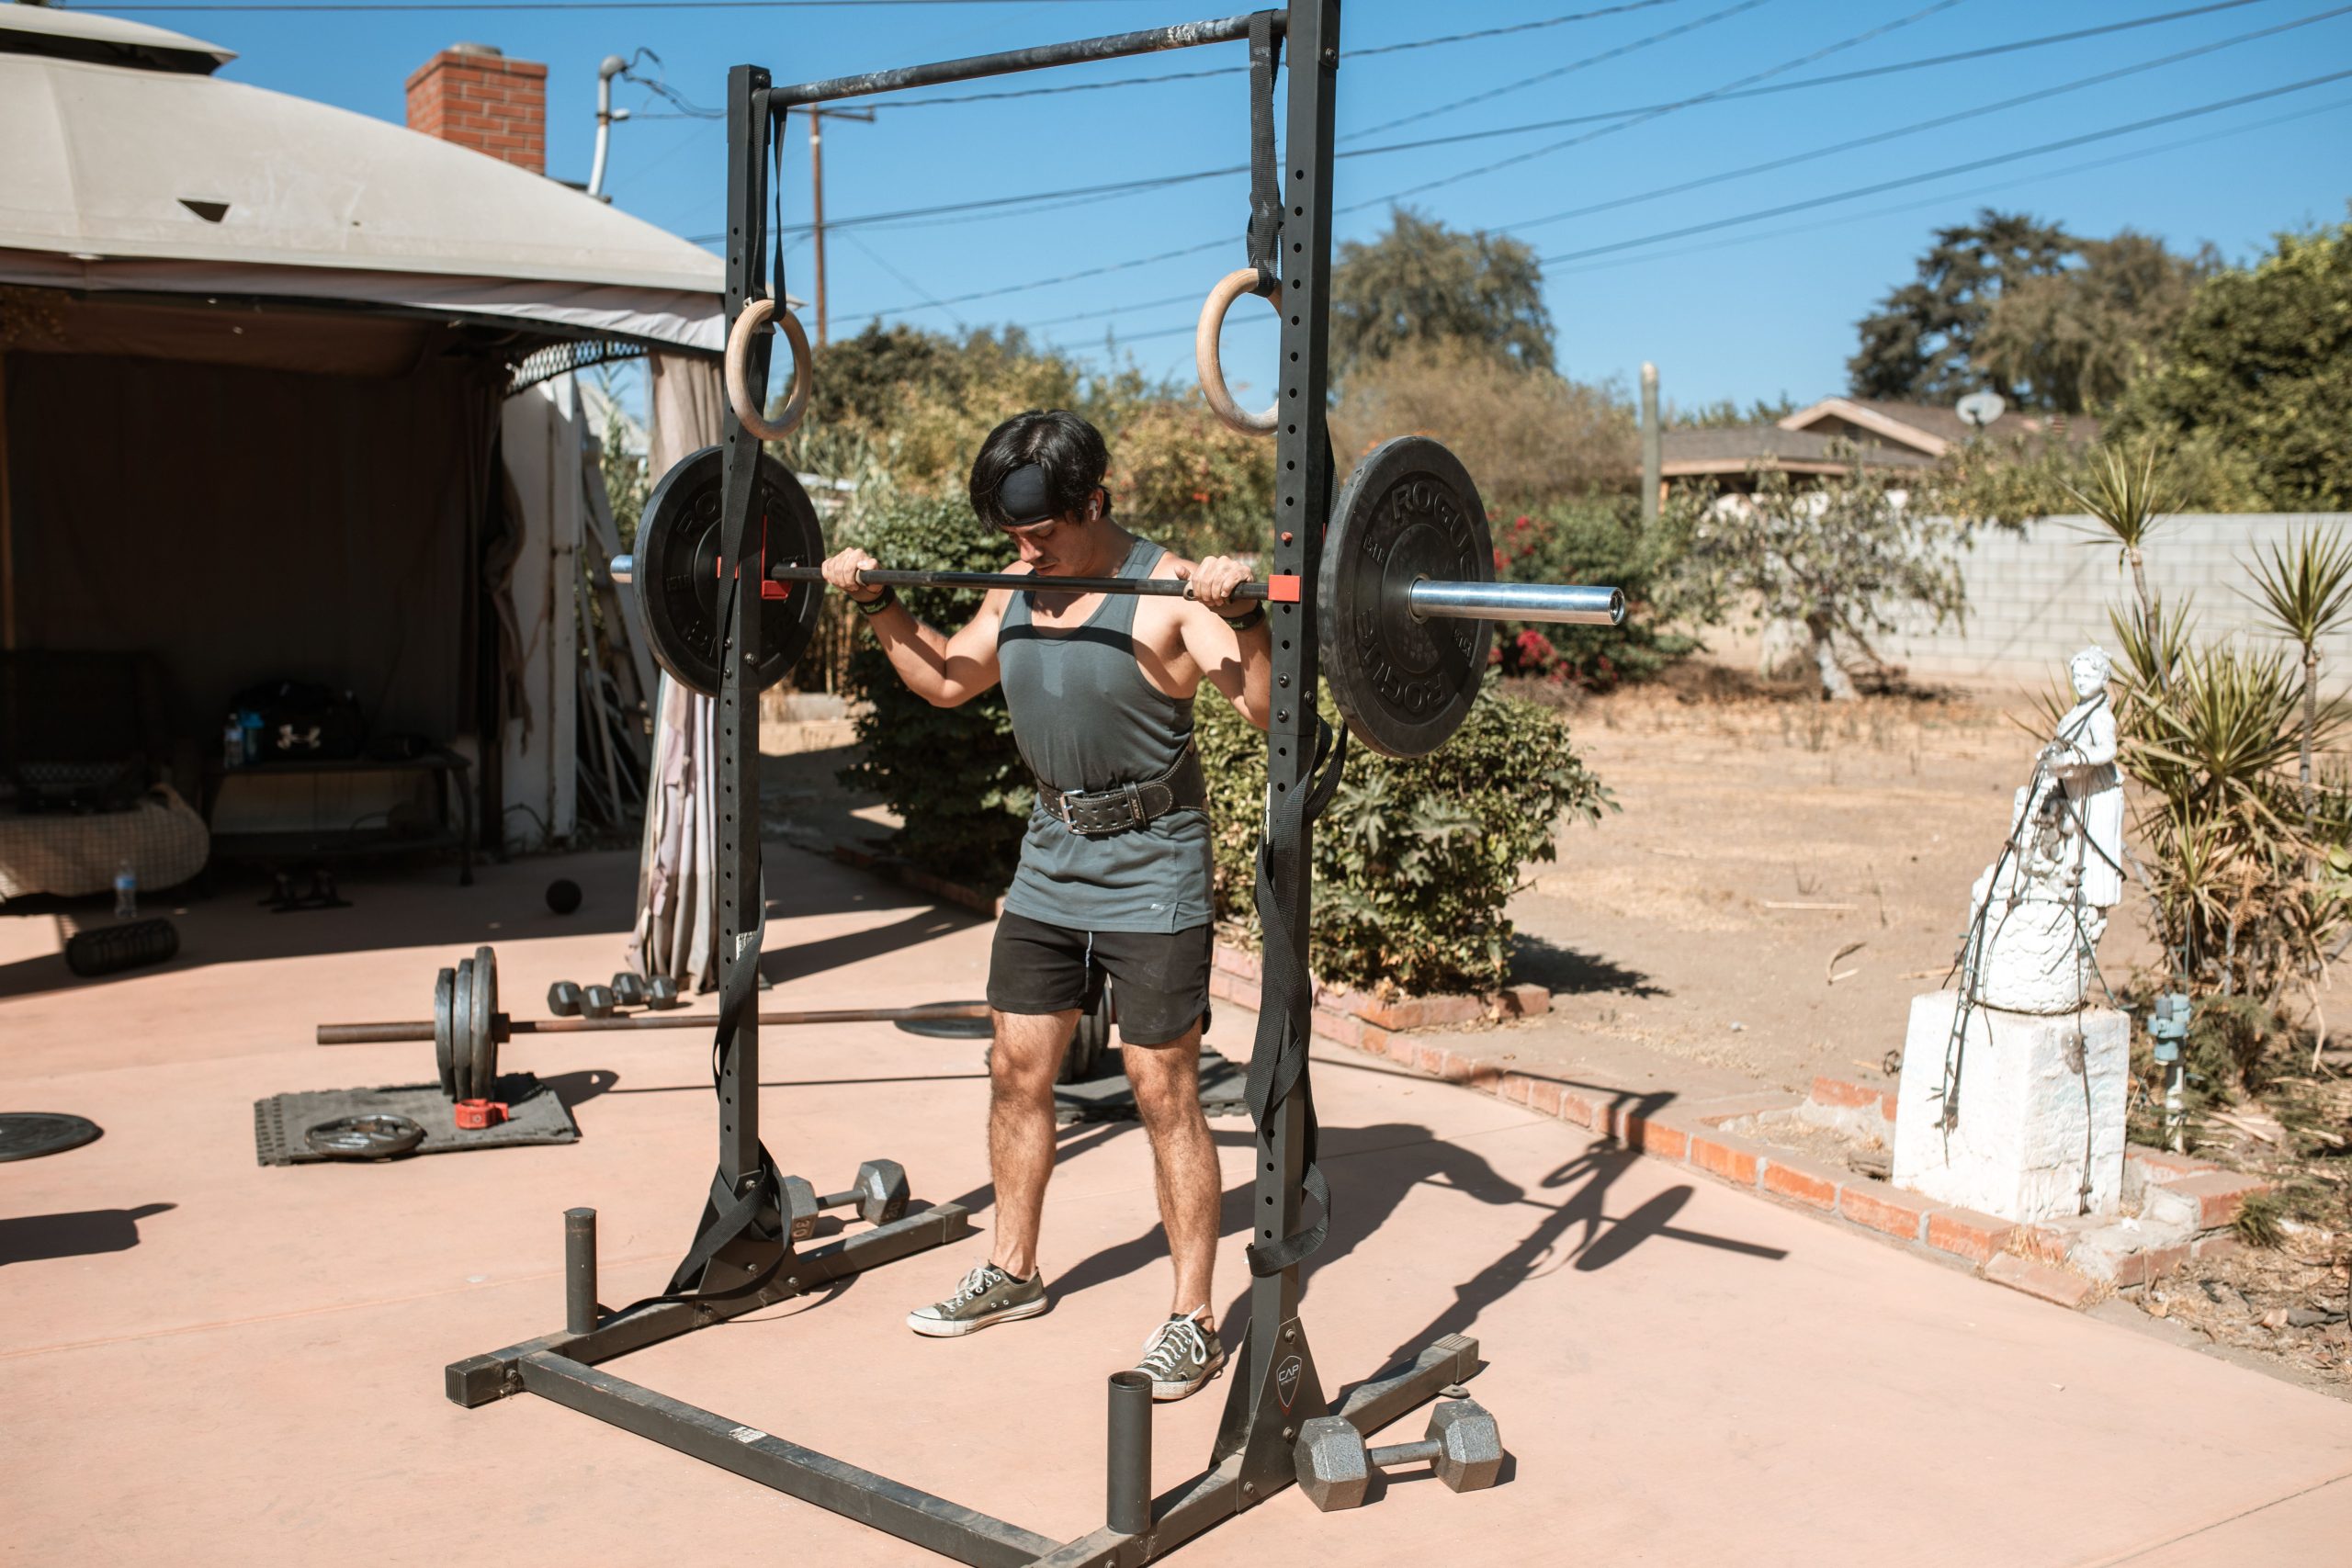
A garden gym can give you a workout space without a commute to a fitness club, but only if it works in January as well as in June. Cold floors, damp walls, poor light and a lack of power can turn a promising outbuilding into a place you avoid after the first month. This guide walks through the decisions that matter most, so your garden gym stays comfortable, safe and usable all year.
Table of Contents
- Choosing the right space and building
- Insulation, ventilation and climate control
- Power, lighting and internet access
- Flooring and layout
- Storage that keeps equipment dry
- Choosing equipment for a small footprint
- Budget planning by zone
- Frequently asked questions
- Final thoughts
Before you spend anything, it helps to know what you are aiming for. The Physical Activity Guidelines for Americans recommend at least 150 minutes of moderate aerobic activity each week and muscle-strengthening work on two or more days. A garden gym needs to support both: space for cardio or mobility work, and enough room and load capacity for strength training.
Choosing the right space and building
Most garden gyms start life as a shed, a garden room or a log cabin. Each has trade-offs:
- Timber sheds are the cheapest option but need the most work to insulate and waterproof.
- Insulated garden rooms are often built with power and insulation in mind, which saves retrofitting.
- Log cabins look attractive but can shift slightly as the timber moves with the seasons, so fixings and cable runs need allowance for that.
Aim for at least 2.5 by 3 metres of clear floor for a basic setup with a bench, rack and mat. If you plan to swing kettlebells or do bodyweight circuits, add more length so you can move freely. Check the ceiling height as well: pull-up bars, overhead presses and jump work all need headroom.
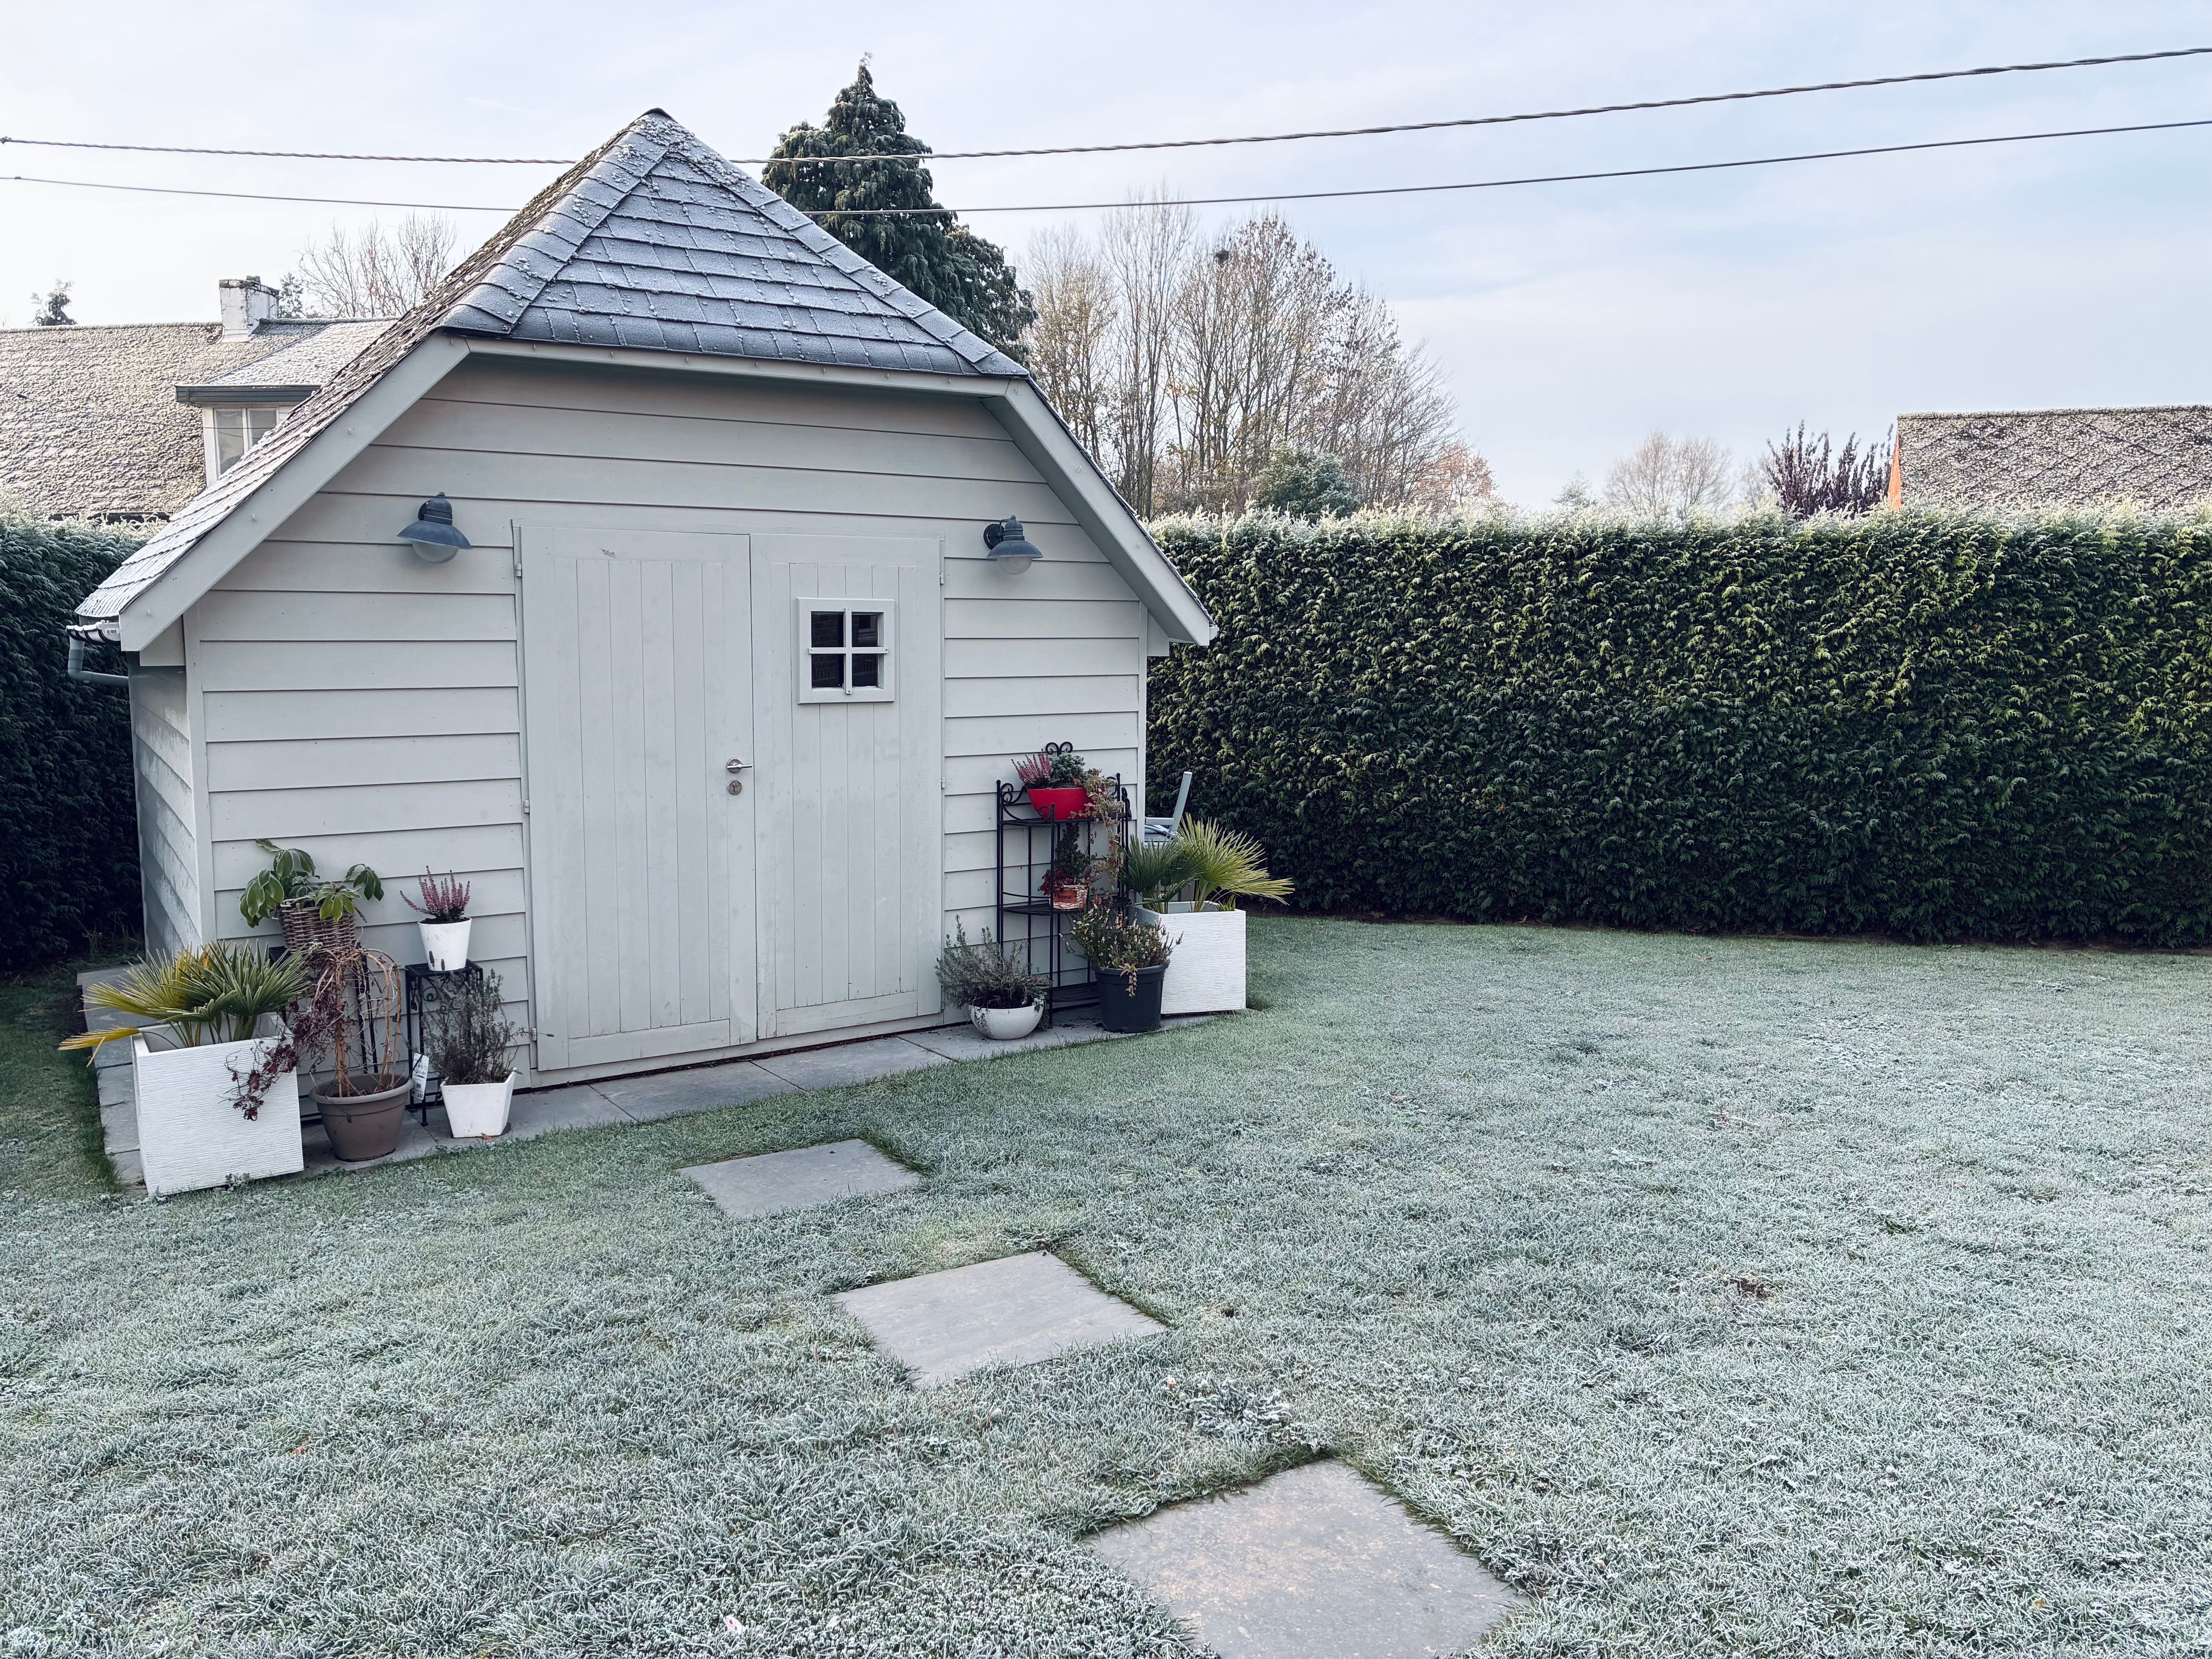
Exterior materials affect how the building handles damp and rot over the years. Many owners choose a shed clad in composite cladding, which resists moisture and needs less maintenance than untreated timber. Whatever you choose, make sure the base is level and raised slightly off the ground, and that gutters direct rainwater away from the door.
Insulation, ventilation and climate control
Insulation is the difference between a usable gym and a cold shed. Focus on three areas:
- Walls and roof: Rigid board or spray foam insulation reduces heat loss and limits condensation on cold surfaces.
- Floor: Insulated flooring keeps your feet from feeling the cold through the boards or slab.
- Ventilation: Trickle vents or a small extractor fan prevent damp air from building up, which protects both your lungs during hard sessions and your equipment from rust.
Heating is easier to plan than it looks. A small wall-mounted electric heater or an oil-filled radiator can take the edge off a cold morning, but consider how long you need to warm the space up. Thermostat control and a timer help avoid heating an empty room for hours.
Power, lighting and internet access
Good lighting makes a space feel less like a shed. Plan for bright ceiling lights, plus a separate outdoor light for dark winter evenings. Position sockets where your bench, rack and any fans or speakers will sit, and count them before the electrician arrives. Heaters and power tools draw a lot of current, so tell your electrician everything you intend to run.
Running power to a garden building is not a DIY job. The NICEIC guide to wiring a shed explains that outdoor and underground cable work should be carried out by a registered electrician. When you plan the work, ask about:
- A cable run buried in armoured cable or a protective duct
- A separate consumer unit so lights and sockets sit on protected circuits
- A data cable in the same trench, since Wi-Fi often weakens at the far end of a garden
- Certification and building control notification once the work is finished
Flooring and layout
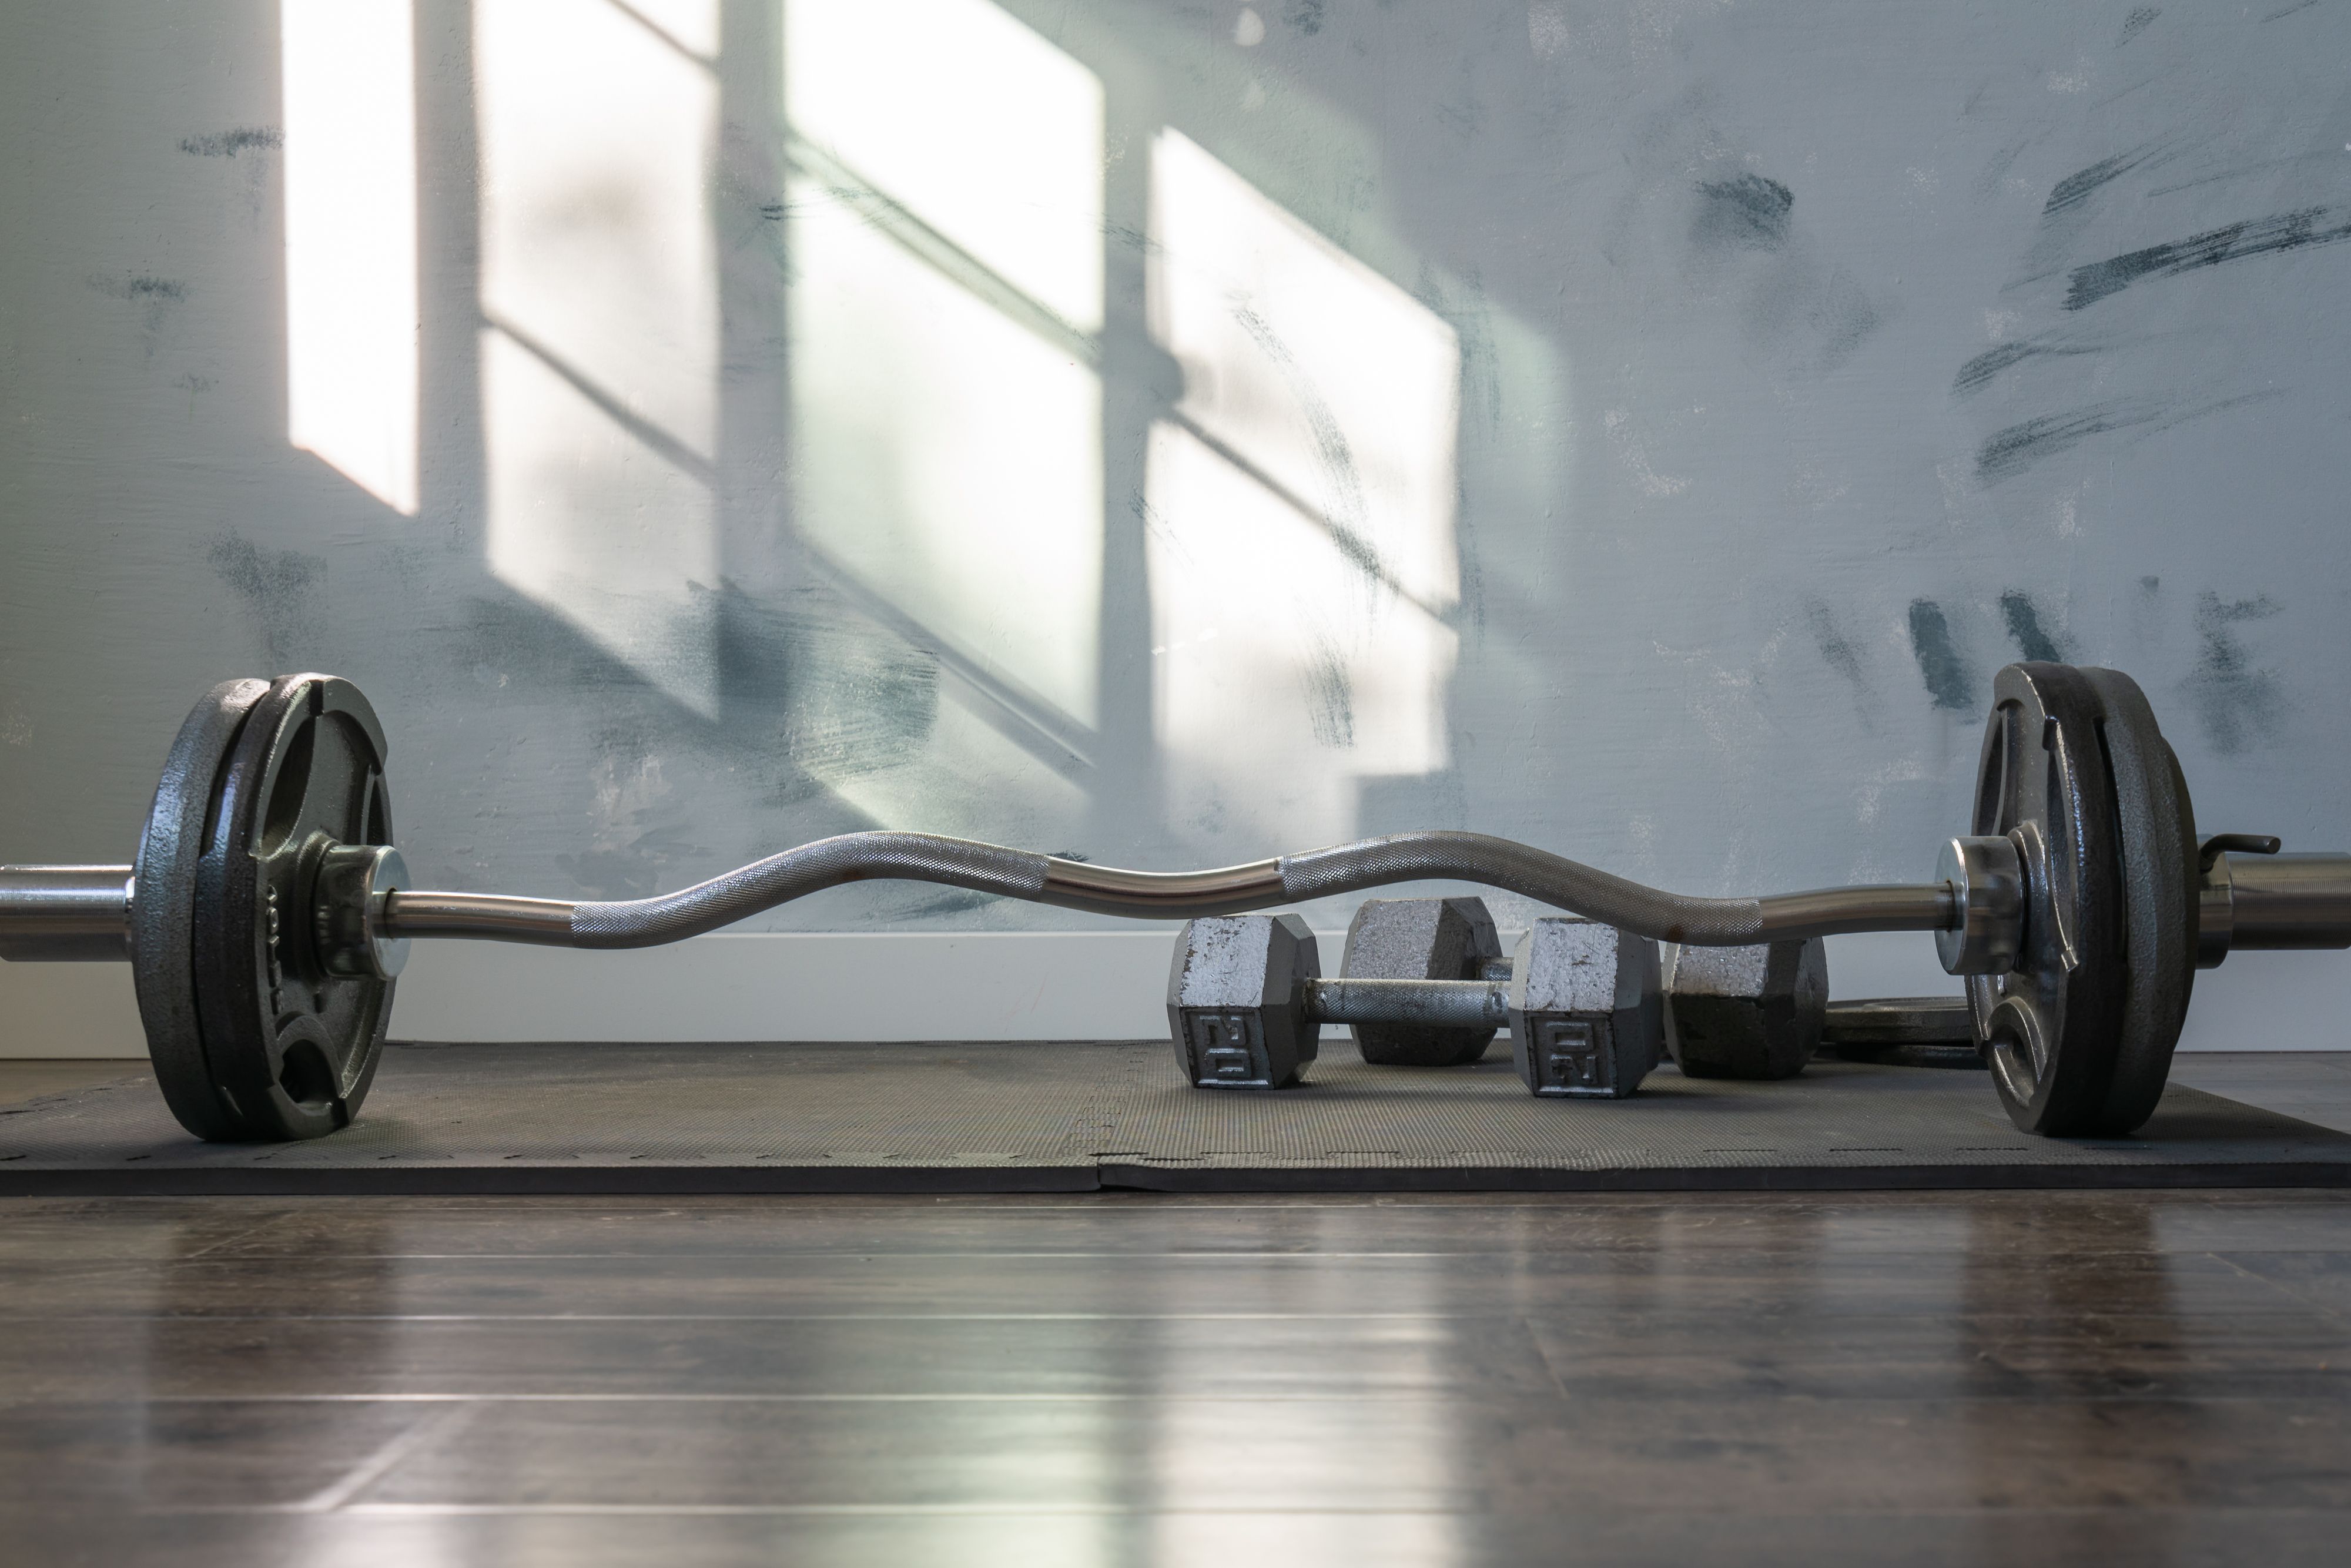
Flooring protects both the building and the people using it. Rubber gym tiles absorb impact from dropped weights and reduce noise. Interlocking foam tiles suit lighter workouts. Whatever you choose, lay it over a moisture barrier or sealed subfloor so damp does not creep up from below.
A practical layout follows the flow of a workout:
- Place the entrance so you can reach the door without stepping over equipment.
- Keep the lifting area in the middle of the floor, with at least a metre of clearance around the rack.
- Put mirrors or a window on one side to check your form and bring in daylight.
- Reserve a corner for mobility work, stretching and bodyweight exercises.
Storage that keeps equipment dry
Weights, bands and mats all suffer in damp conditions. Wall-mounted racks and shelving keep kit off the floor, and sealed plastic bins protect smaller items. Store barbell plates on a rack rather than leaning them against a wall, where moisture collects. Check the rack’s weight rating before loading it, and fix it to wall studs or a solid frame, not just the cladding.
Choosing equipment for a small footprint
Space is limited, so favour equipment that gives you the most training options per square metre:
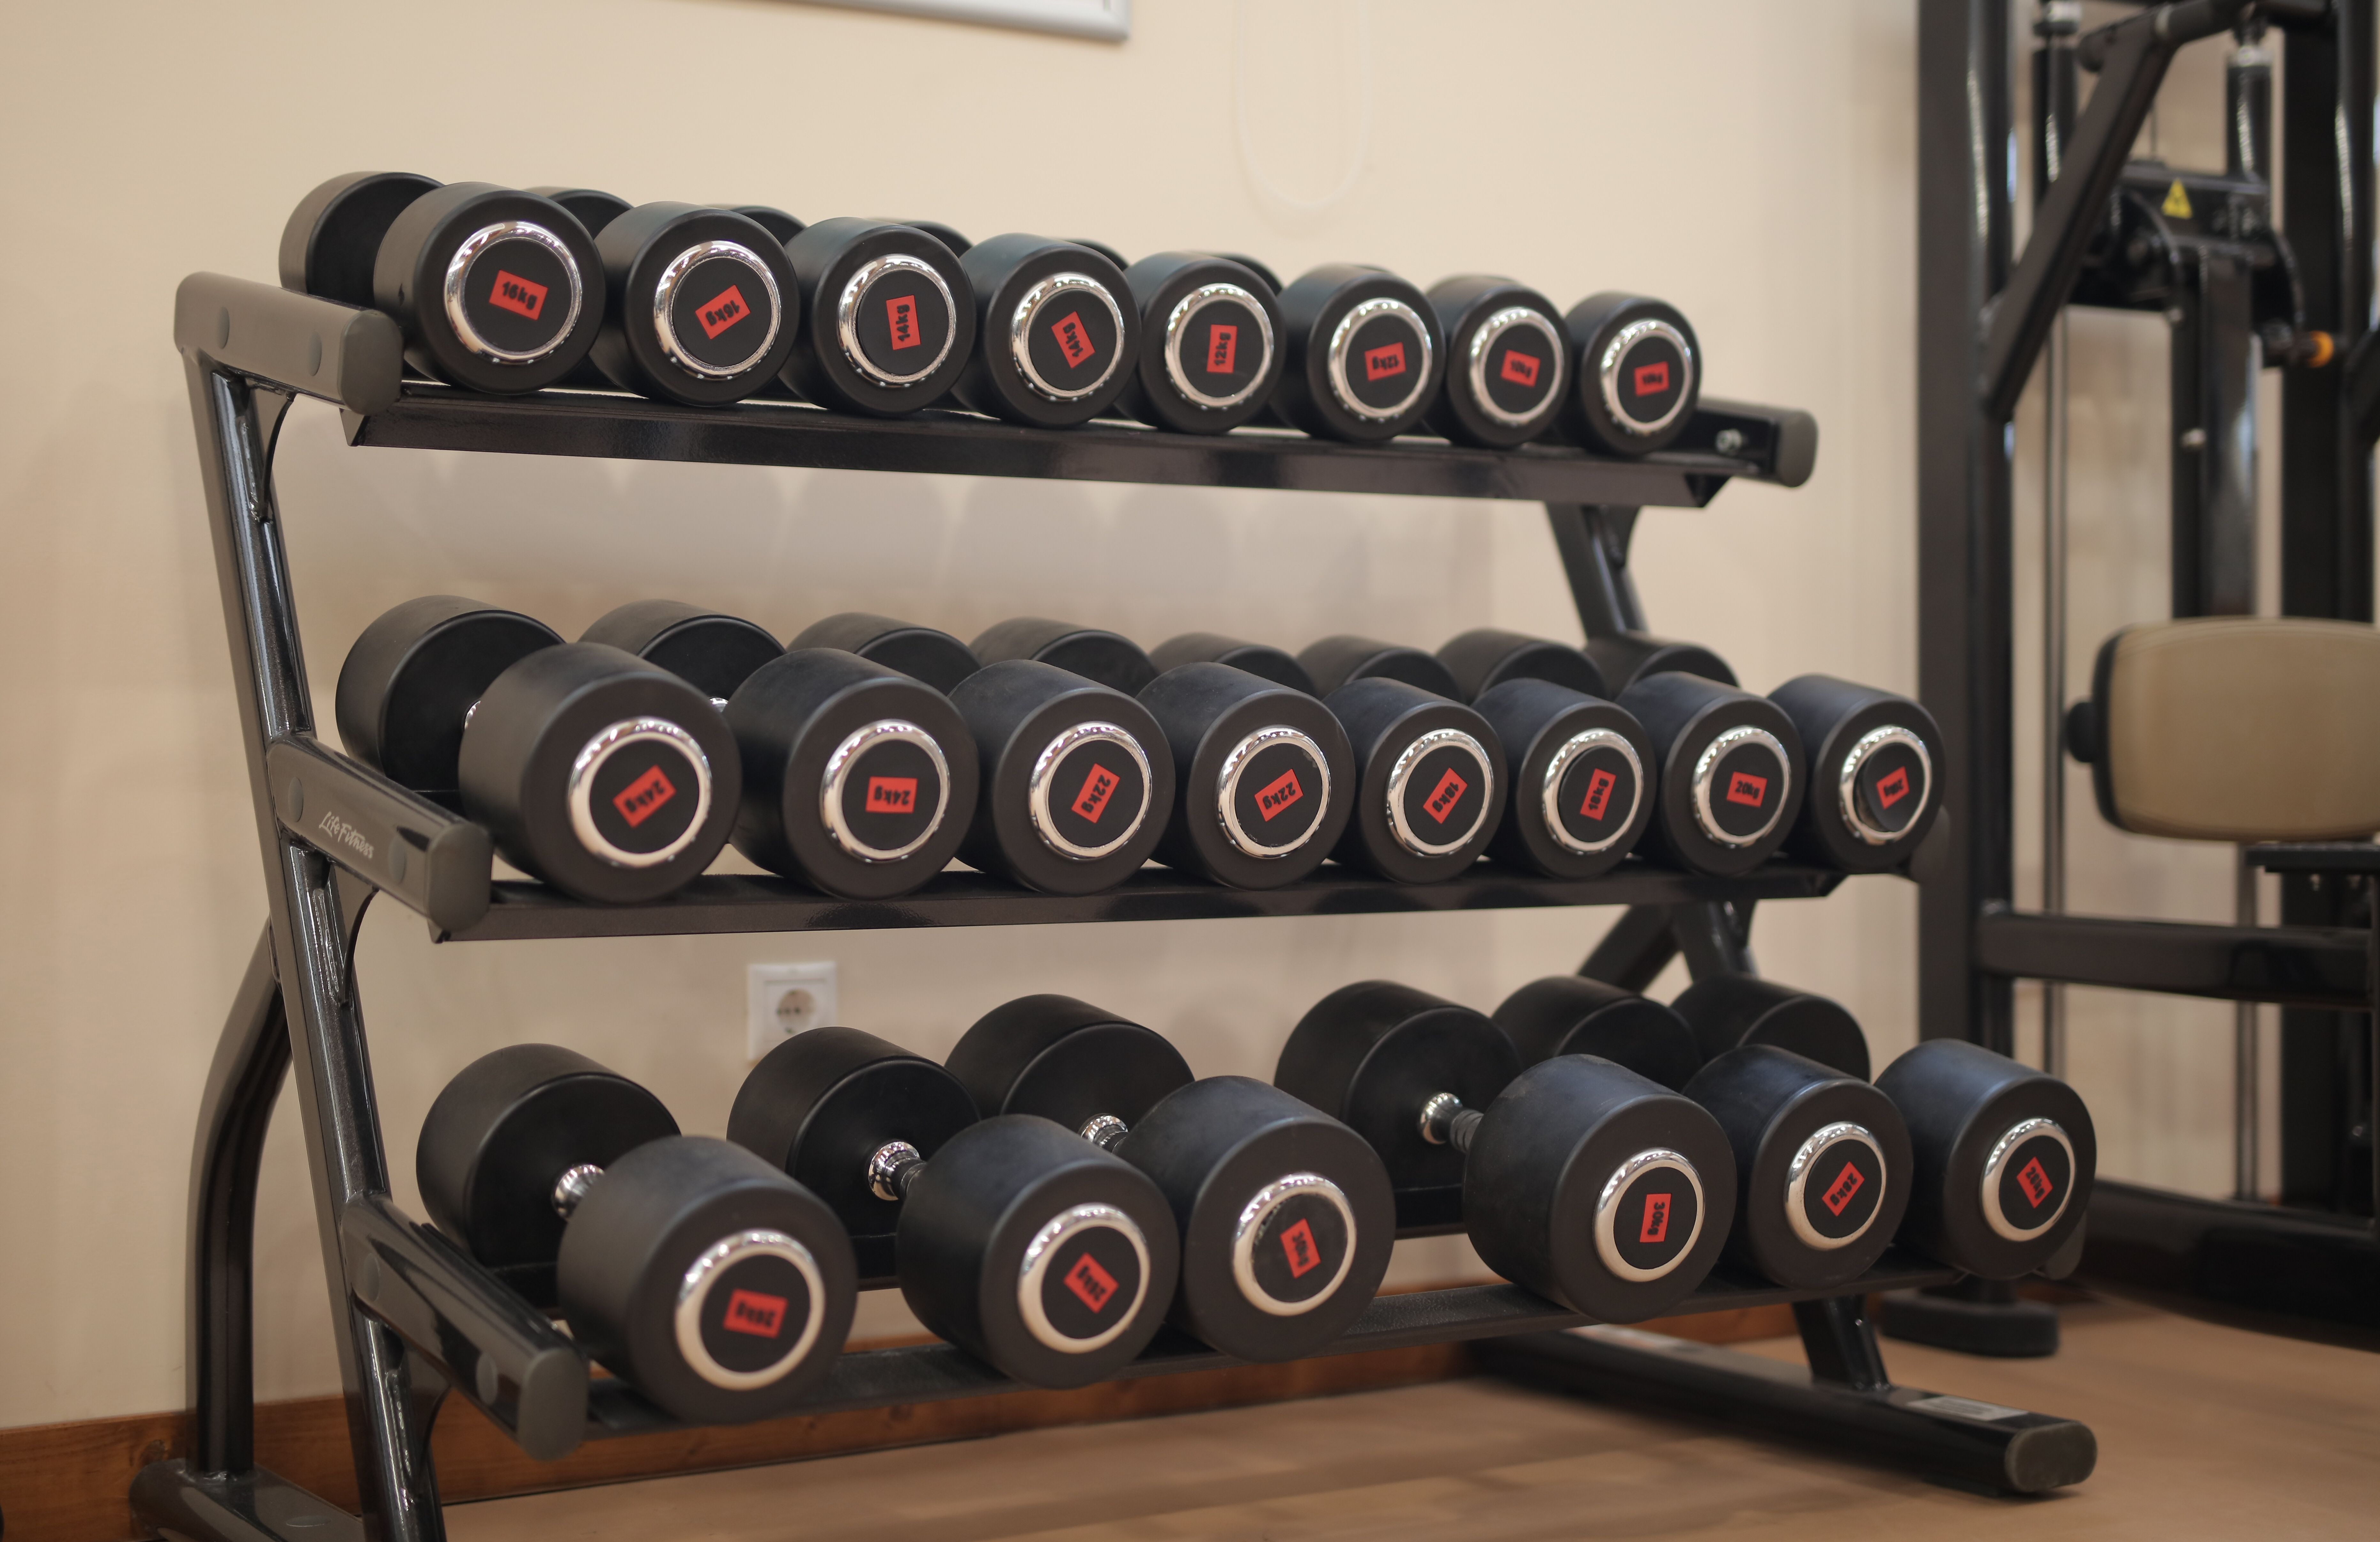
- Adjustable dumbbells replace a full rack of fixed weights.
- Resistance bands are light, quiet and easy to store.
- Power rack or squat stand makes heavy lifting safer when you train alone.
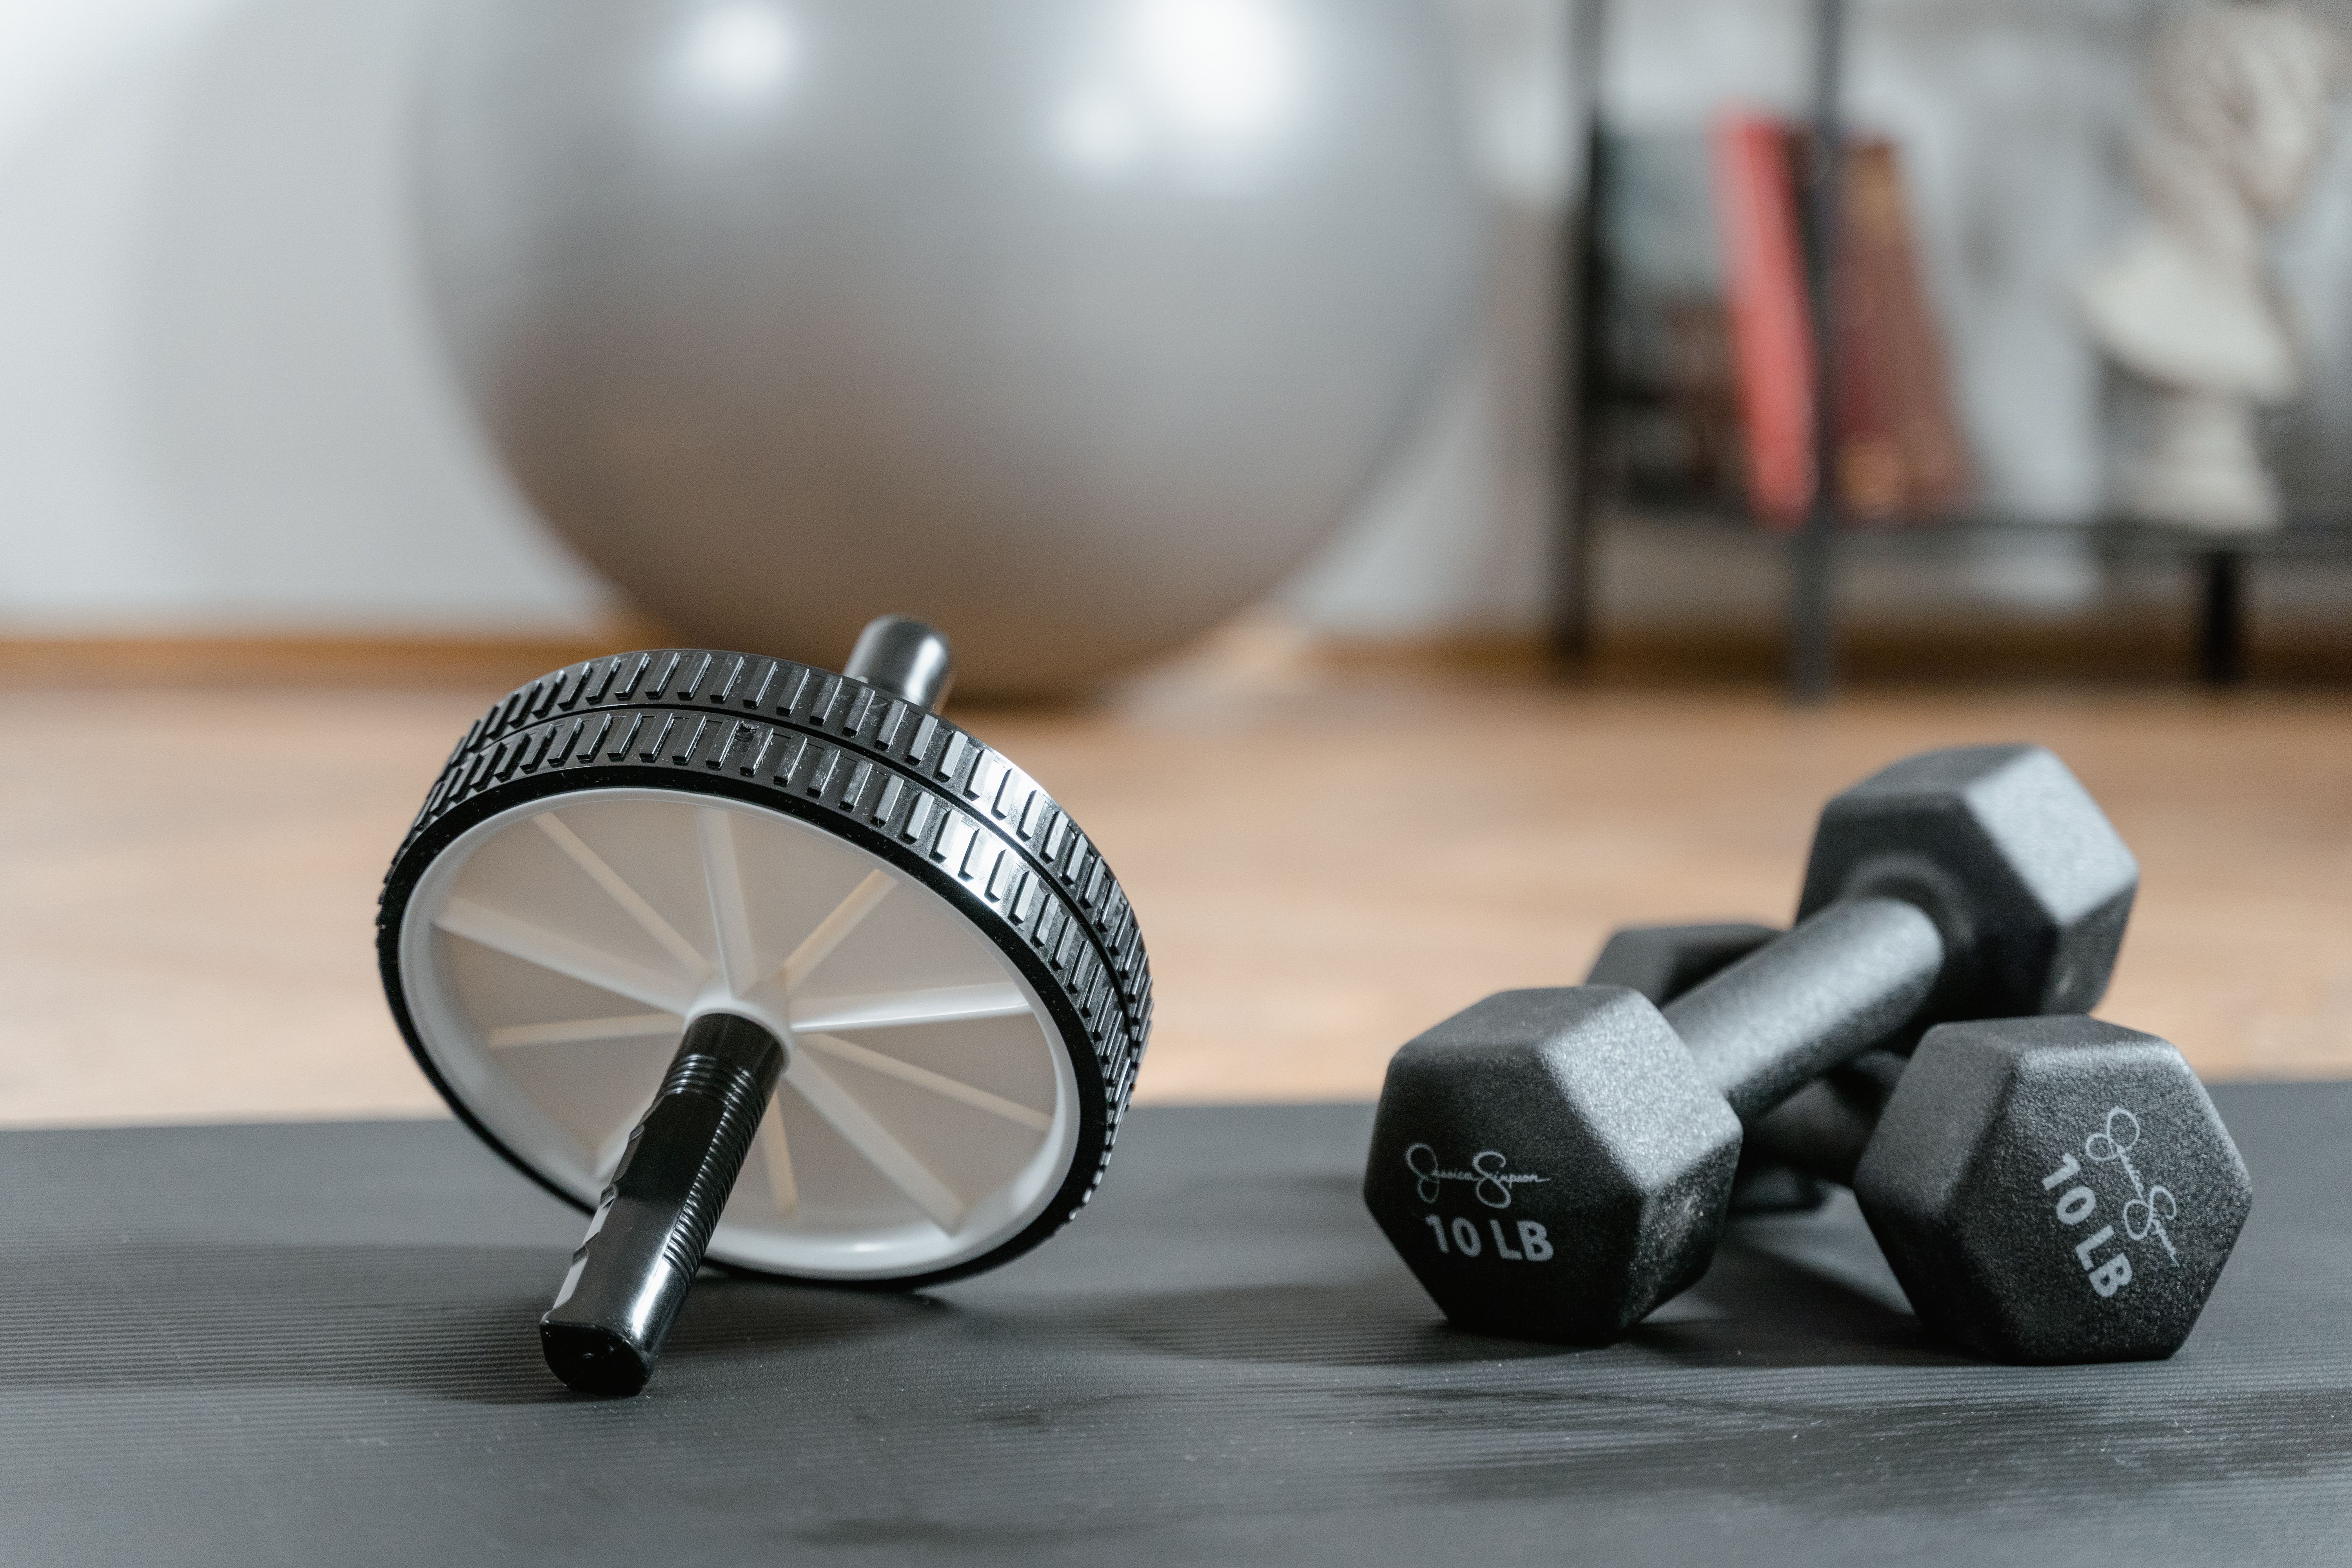
- Ab wheel and mat cover core work with almost no storage cost.
Strength training recommendations from the CDC call for work across all major muscle groups, including legs, hips, back, chest, abdomen, shoulders and arms. Pick a small set of equipment that covers each of those areas and you will not need a large room to train well.
Budget planning by zone
Costs vary widely with building size and how much work you do yourself. The table below gives a rough way to split a budget across the main zones. Figures are indicative only and will depend on your region, the building you choose and whether you hire professionals.
Spend first on the shell, insulation and electrics. These are expensive to change later. Equipment can be added gradually, so buy the core pieces first and extend the kit as your training develops.
Frequently asked questions
How big does a garden gym need to be?
A basic setup with a bench, rack and mat works in roughly 2.5 by 3 metres of clear floor. Add more length if you plan to move around or use larger equipment.
Can I use a garden gym in winter?
Yes, if the building is insulated, ventilated and heated sensibly. Insulation in the walls, roof and floor is the most important step.
Should I do the electrical work myself?
No. Power to an outbuilding should be installed by a qualified, registered electrician who can certify the work.
Final thoughts
A well-designed garden gym rewards the effort you put into it at the planning stage. Get the building, insulation and electrics right first, then layer in flooring, storage and equipment around the way you actually train. A space that is warm, dry and well lit is one you will use in every season, which is the real goal of year-round training.